Hardware and accessories for bags
Creating bags is not only choosing the right material, but also the right hardware. Hardware is of course an important part in the design of a bag as a whole. Studs, rings, locks, buckles, rings and connectors for handles, and so on are one of the most important elements: they give precious features to a project.
Possibilities are endless and suitable for any budget! There are many websites that sell quality, fancy hardware.
This list gives just a basic idea of what you may need to make a bag.
In the links section I included some sites that I use for my creations, which also sell retail and some shops in the area where to make interesting purchases (with time I am going to increase the links section with new interesting websites).

The rivets:
They can have different sizes and can be used both for holding together parts of a bag, and sometimes as ornaments.
In the picture I am just showing common rivets, but you can find an incredible variety of them.
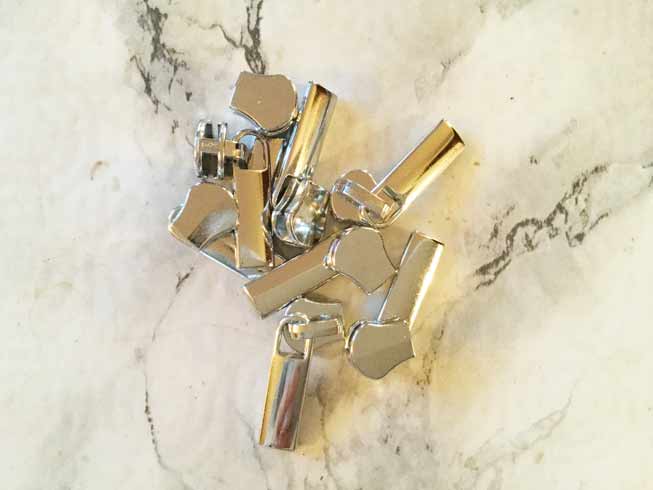
 Snaps Hook with a ring shape. They come in different shapes
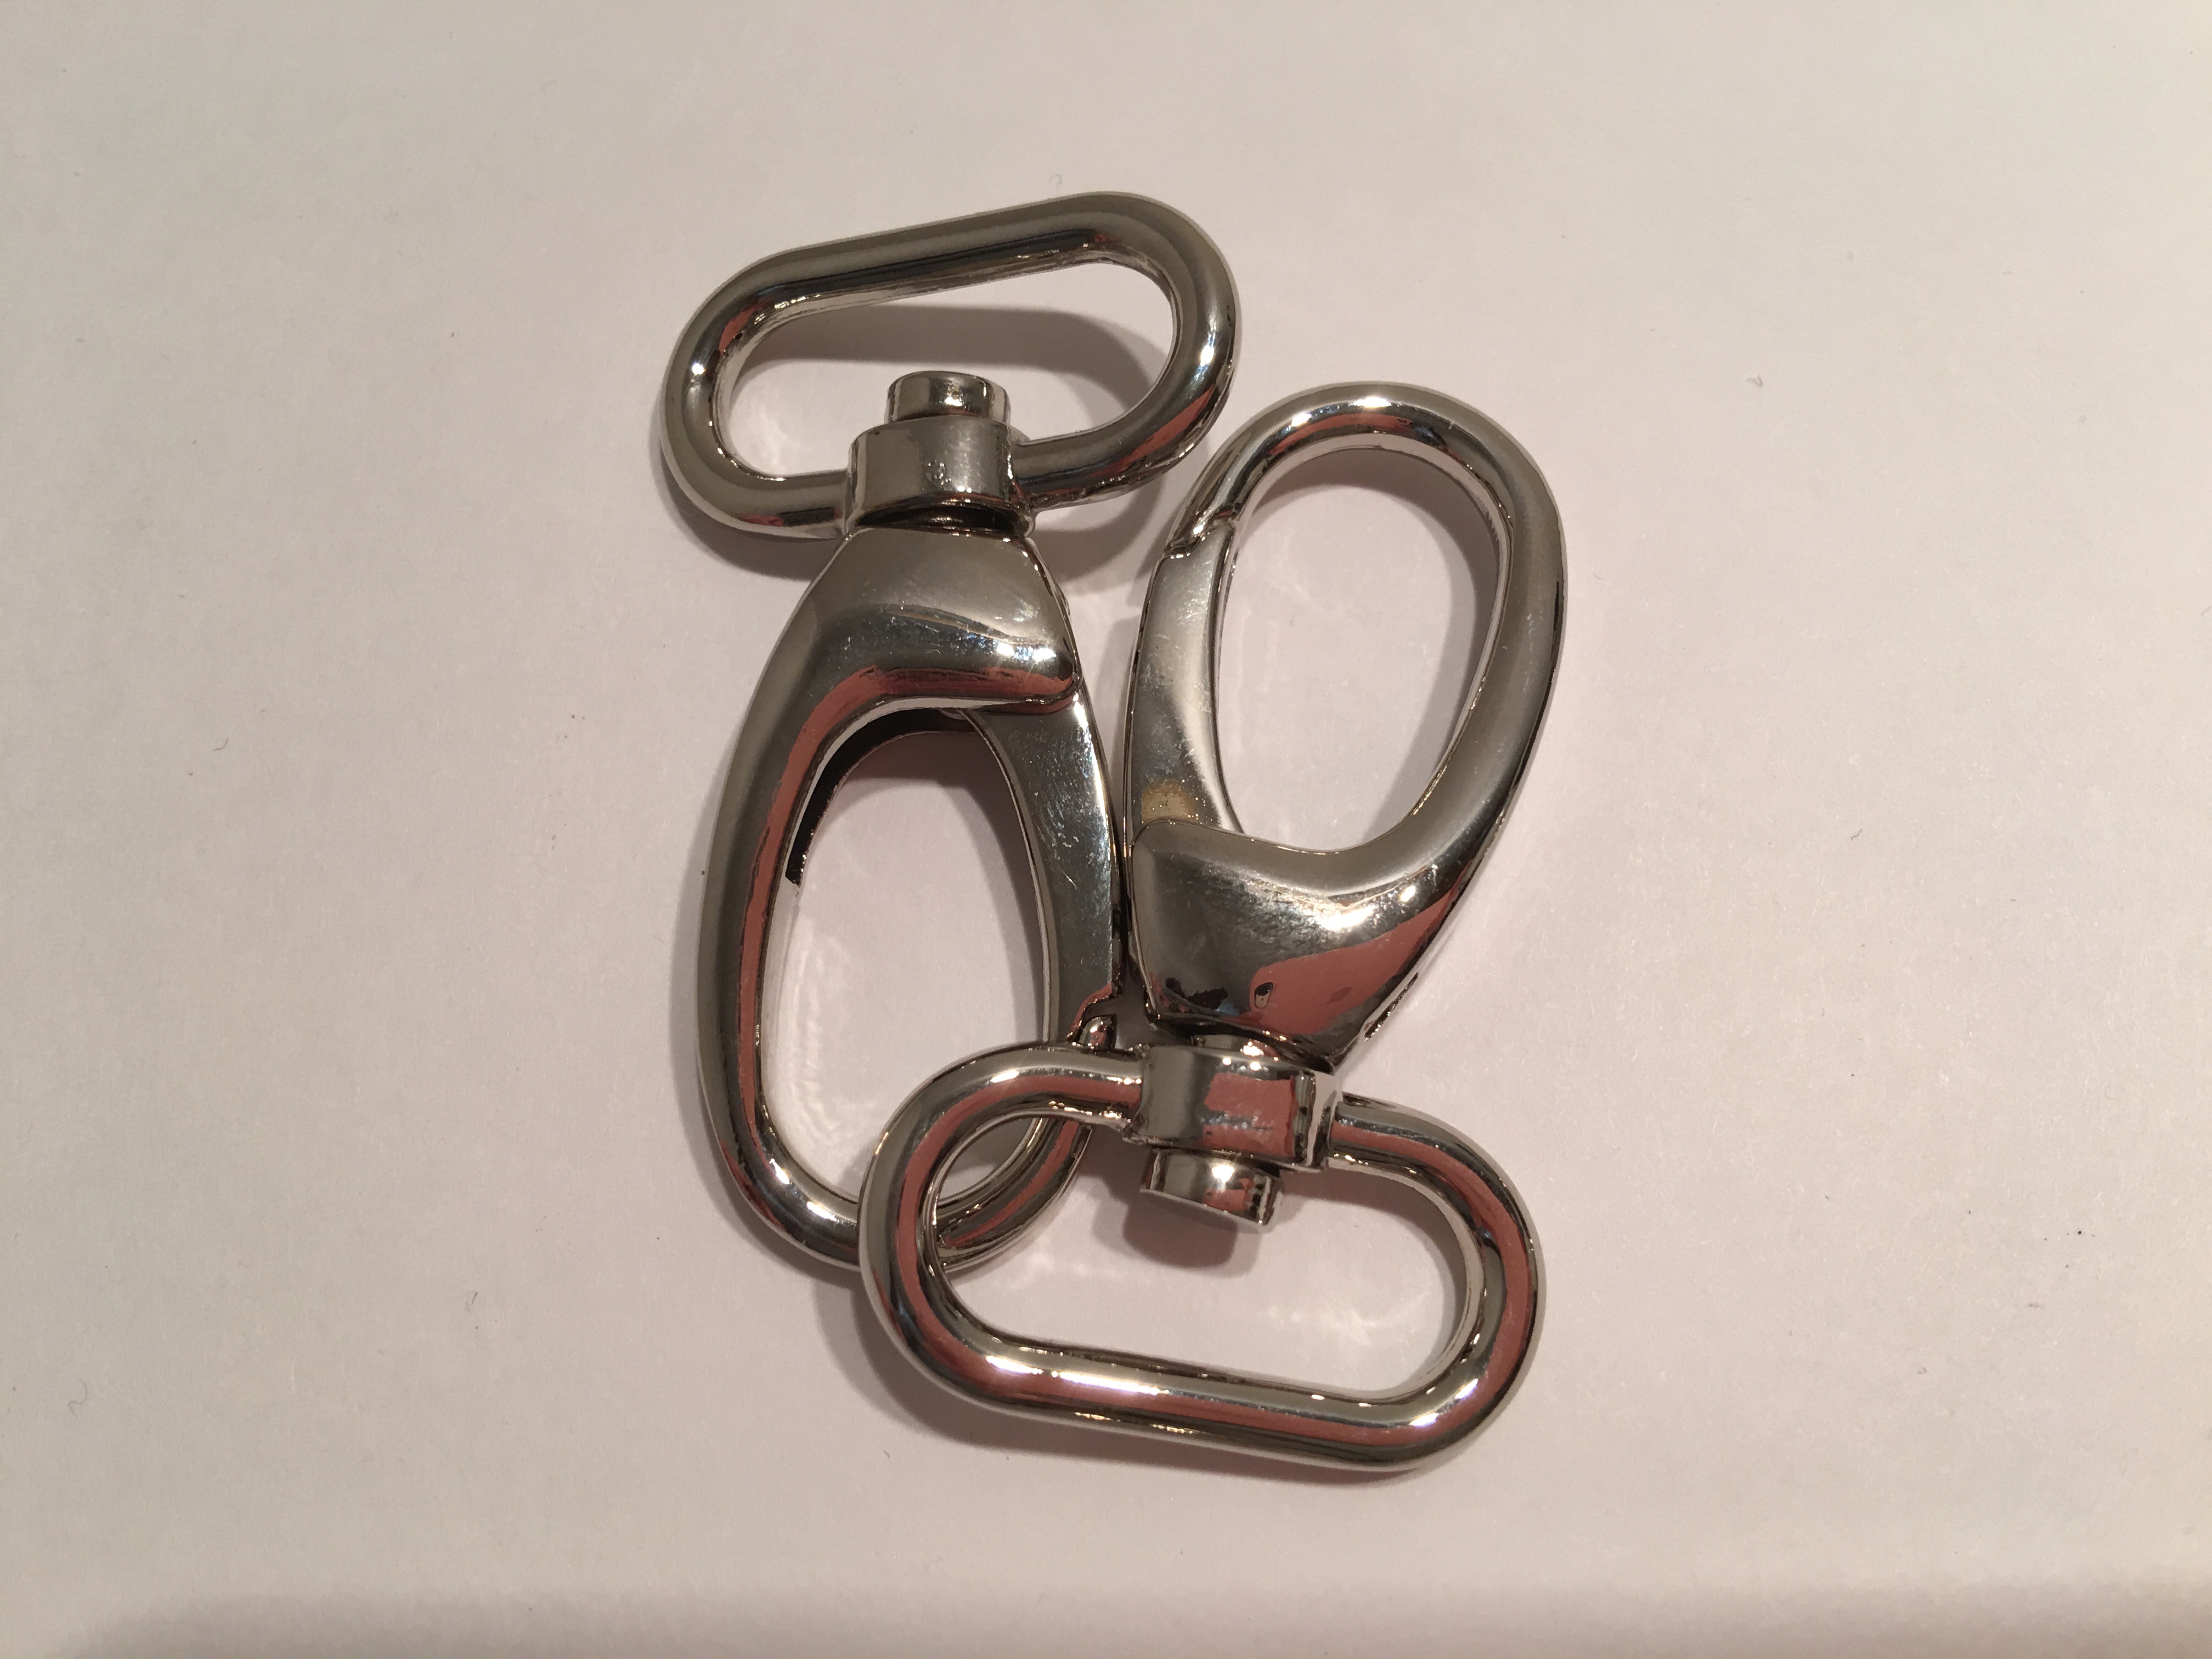 These are the classic snaps hook used for shoulder strap width 25 mm (1″). You may find so many different shapes around, moreover they come in different measures.
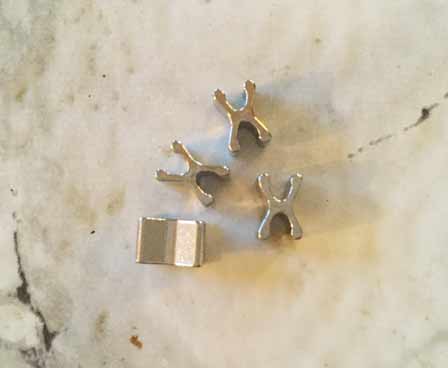
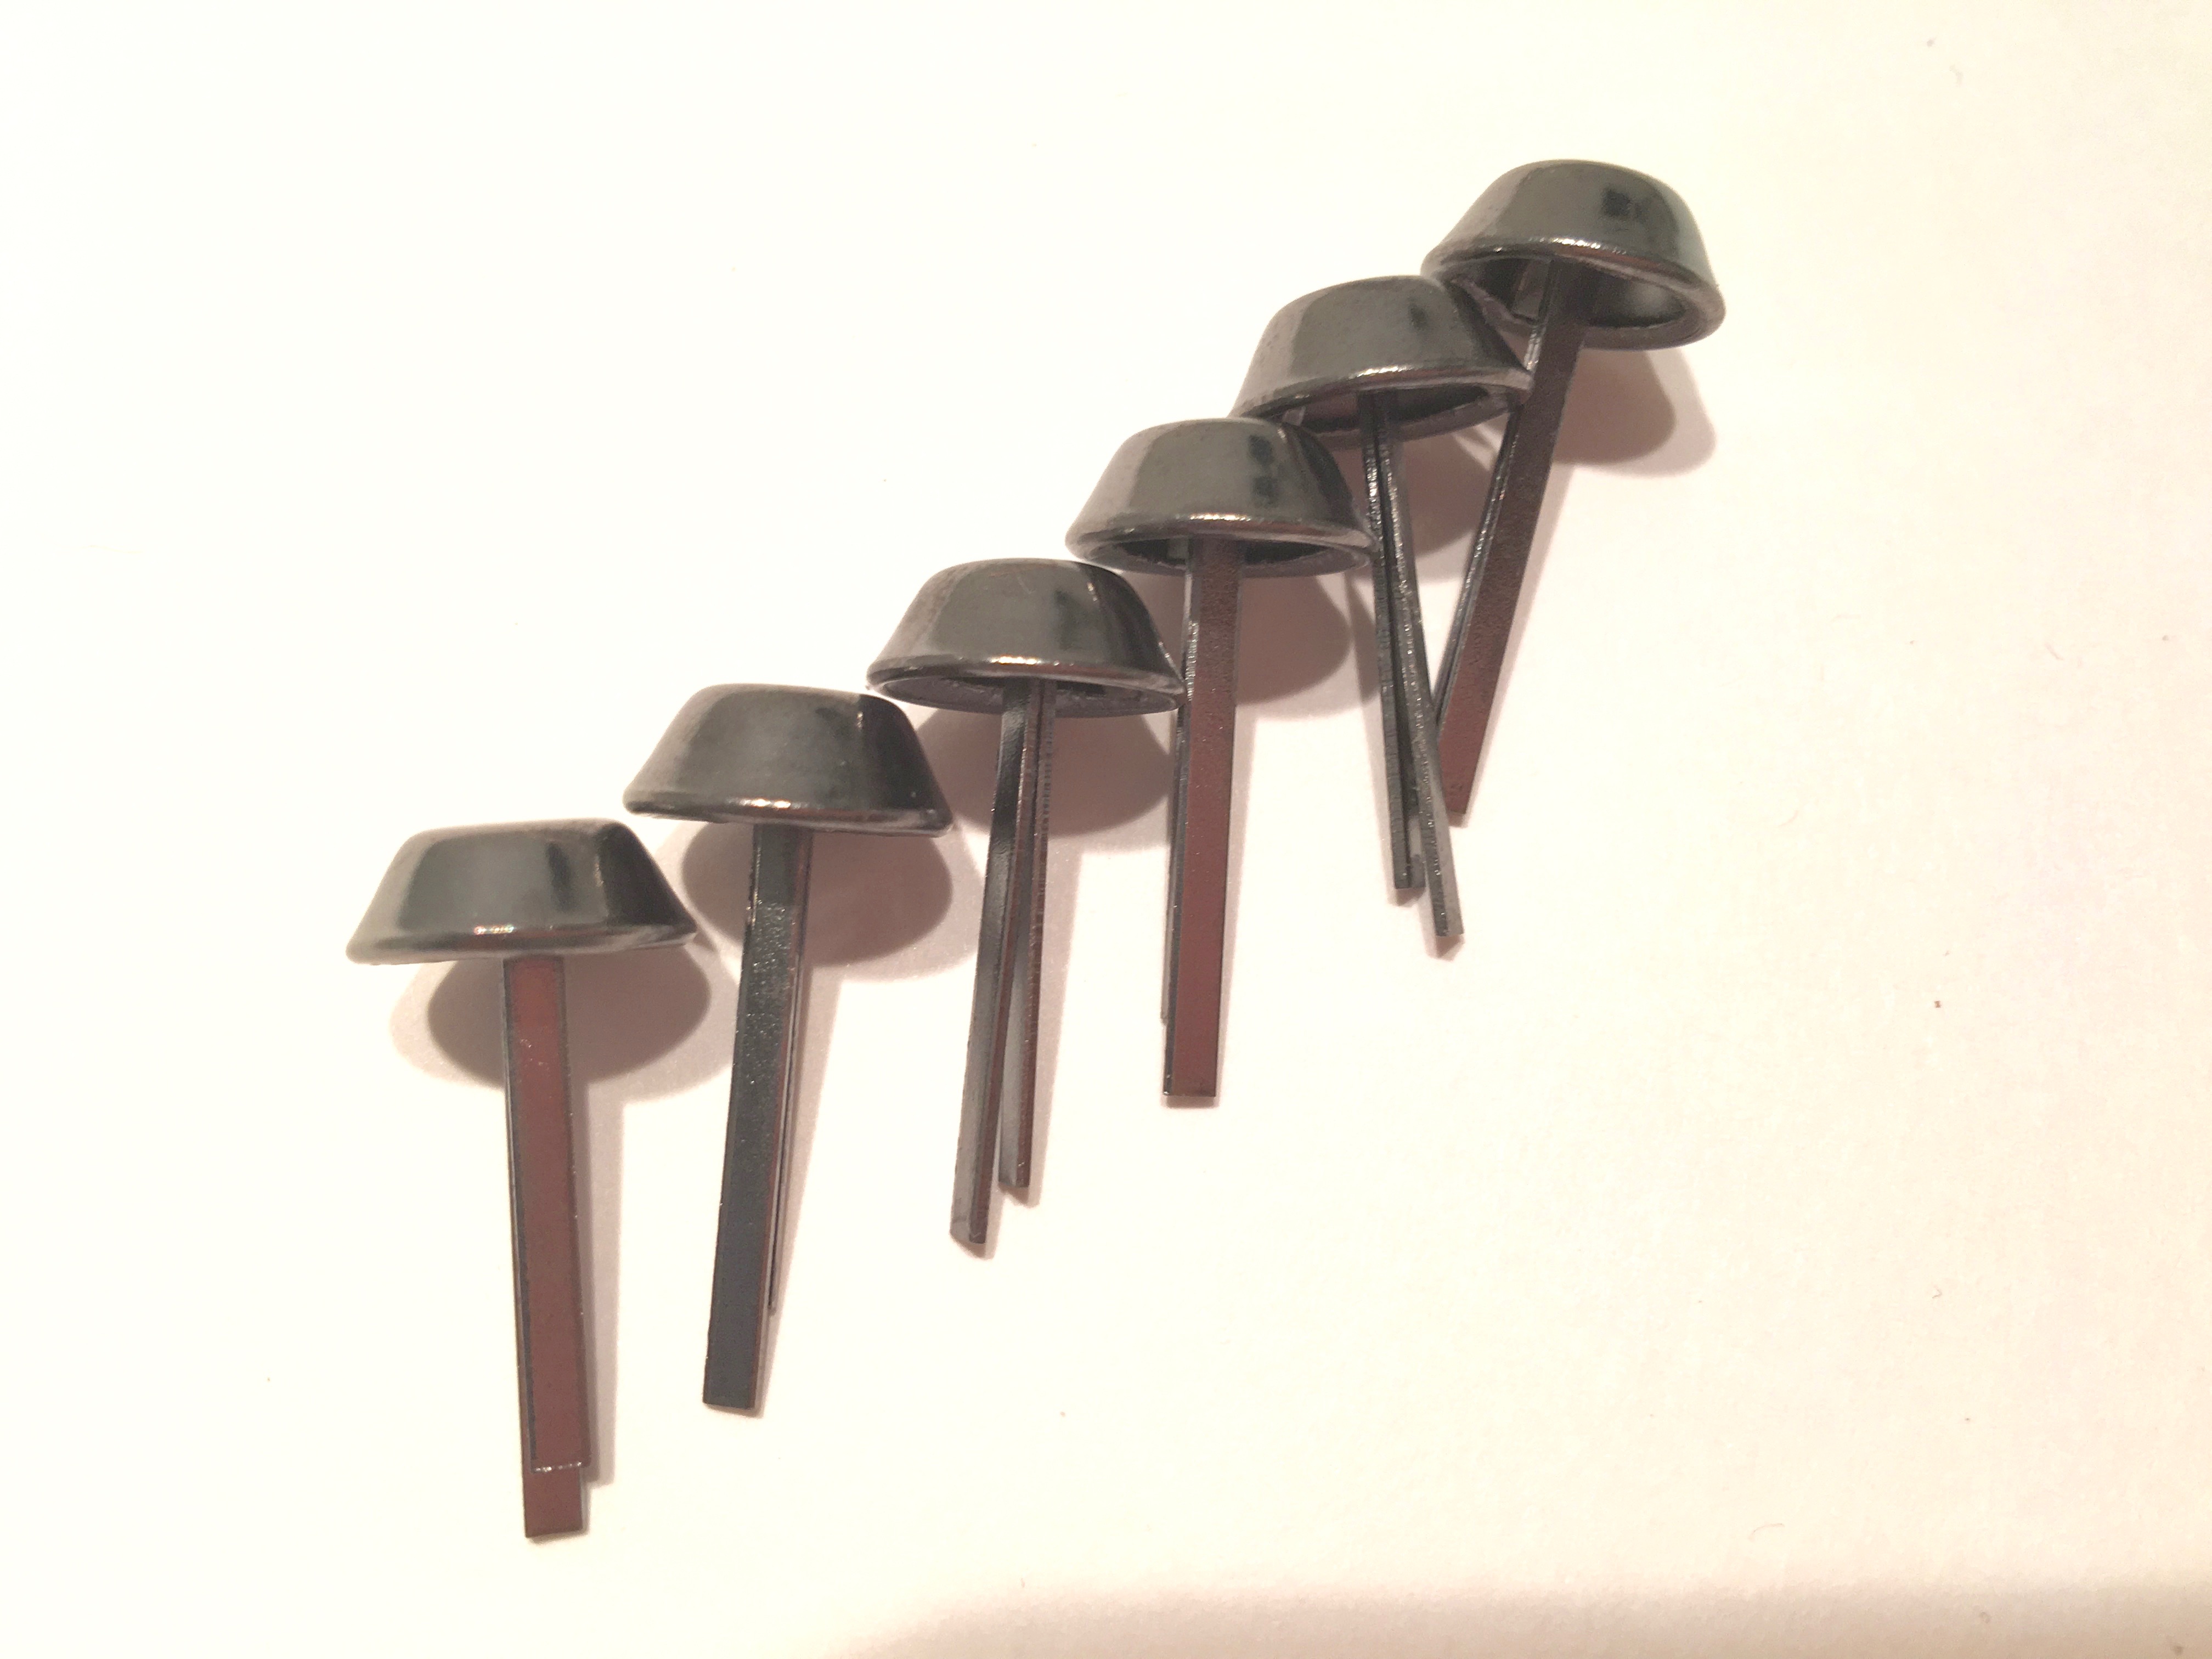 Most of my bags have feet applied to the base. I like thinking that they may preserve the bag a bit longer. Those in the photo have prongs to open wide on the back the base.
Another important element for building a bag is the closure that you choose. Depending on the shape and quality you may achieve very professional results and your bag becomes a unique piece of art. Choosing quality hardware is a question of calculated design.
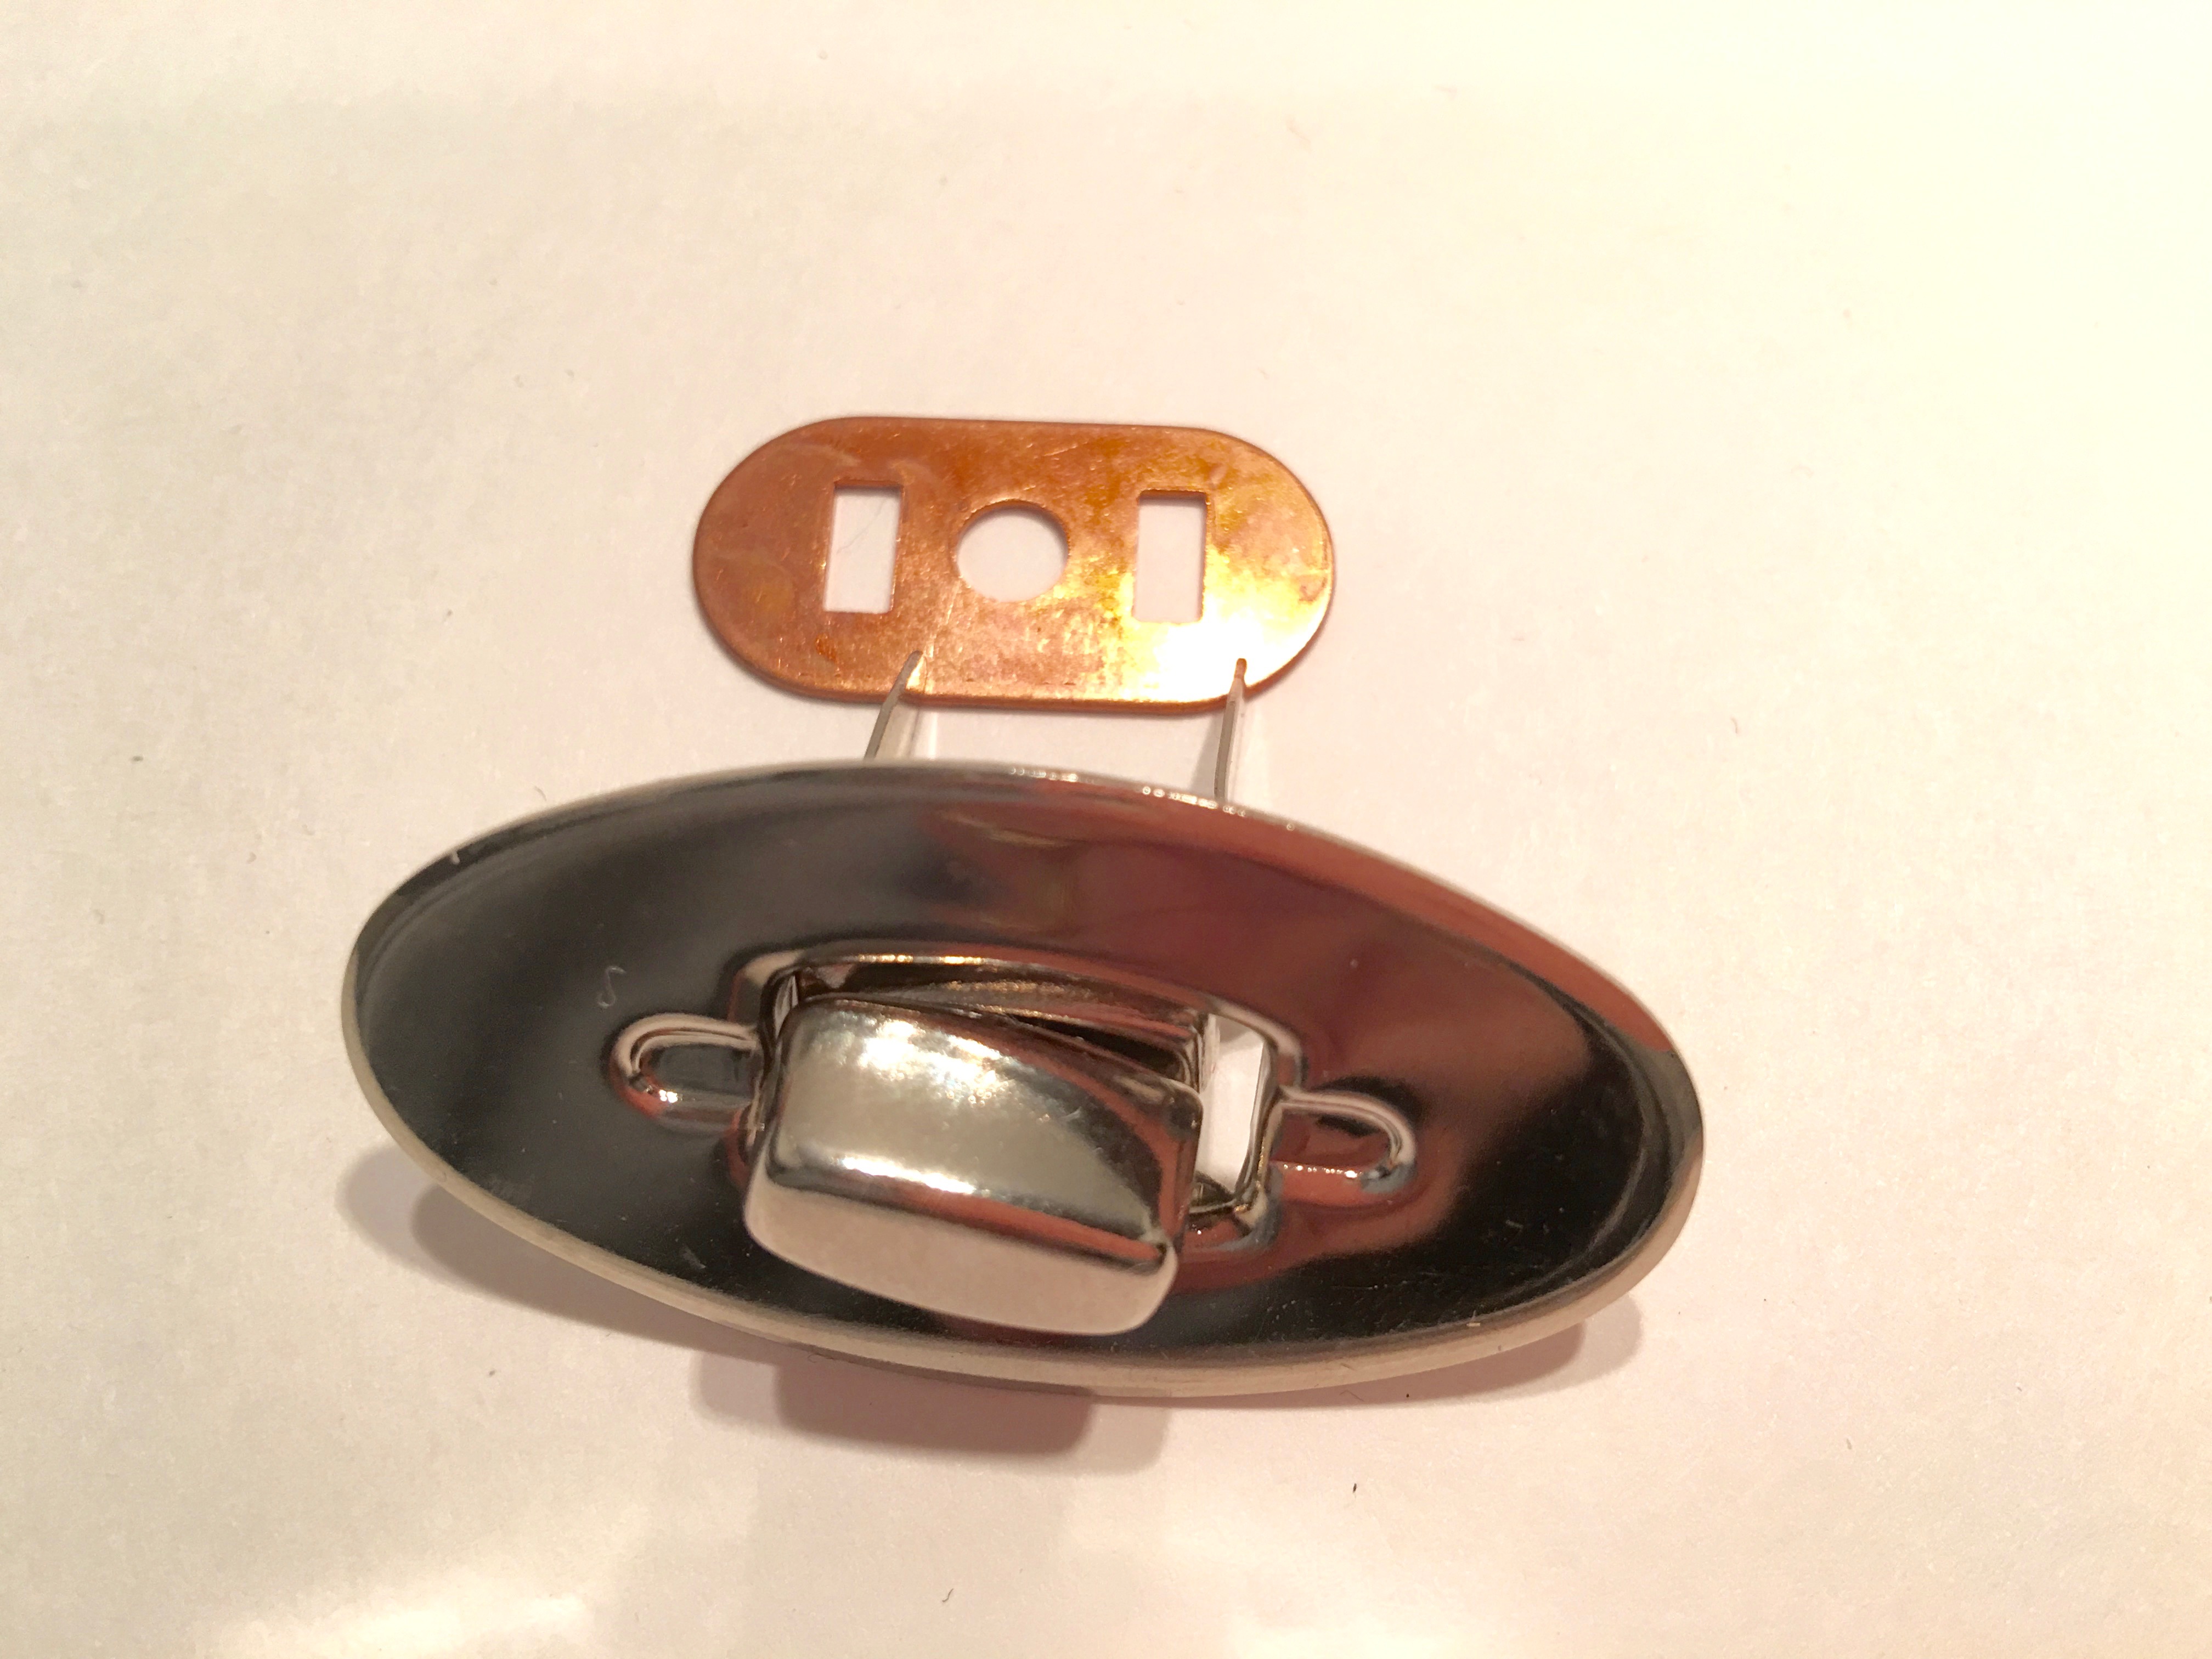 This one is just an example, it is a simple turning lock closure with prongs on the back.
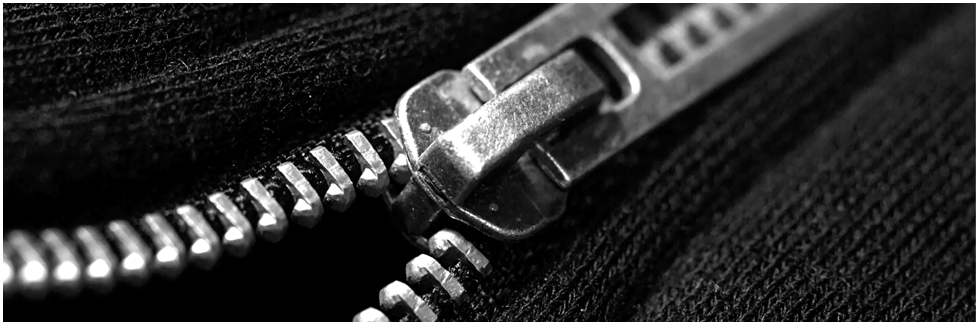
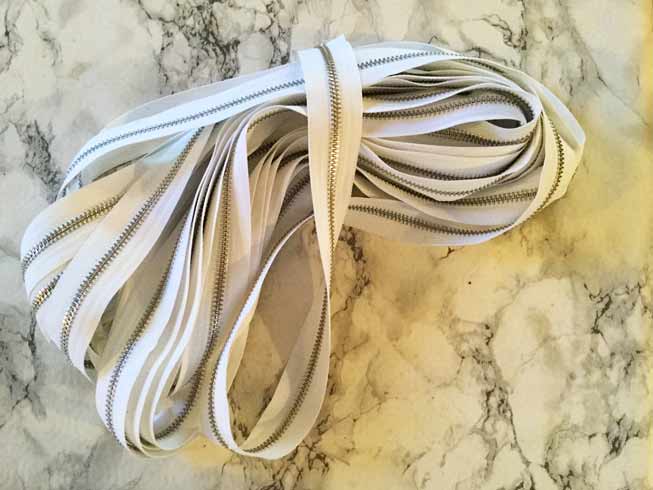
The zip
Zippers most of the times, are a very important element in bags. There are different types of zippers. Teeth may be in metal, nylon or plastic. The first picture shows a metallic zipper chain (you may cut the exact length you need and create your zipper with pullers and stoppers. Metallic zippers come in different sizes (the most common are 6 mm and 8 mm). The bigger the bigger the pullers.
The second picture shows a nylon zipper. Teeth are made by a non stopping wire that goes all along its length and you cannot tear away them (the only way is to cut it). Most of the times i use this kind of zipper for internal pockets.
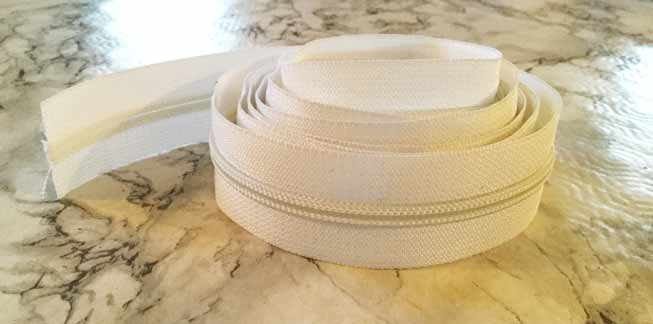
The latter may be easier to slide in both directions.
Other elements we might to prepare a zipper are:
- stoppers (upper and lower)
- pullers

How to prepare a hinge for a project
Preparing a zipper for your project is not hard at all, just follow a few steps.
- once you decide the length of your zipper, you should remove the excess teeth with a pair of pliers, but at the same time keeping some fabric tape because normally it gives enough room to sew it in place.
- It ‘s always a good idea to insert stoppers (both ends) because they provide safety and durability.
- And it is very important that the zipper is lined up on both sides to avoid any misalignment: the zipper may open if not well jammed.
Here is a short video on how I usually prepare my zippers